Introduction to the API service | NiamonX API
🔐 How to Create and Use Your NiamonX API Key
This guide explains how to create your API key, keep it secure, and start making requests to the NiamonX API v2.
1. Requirements
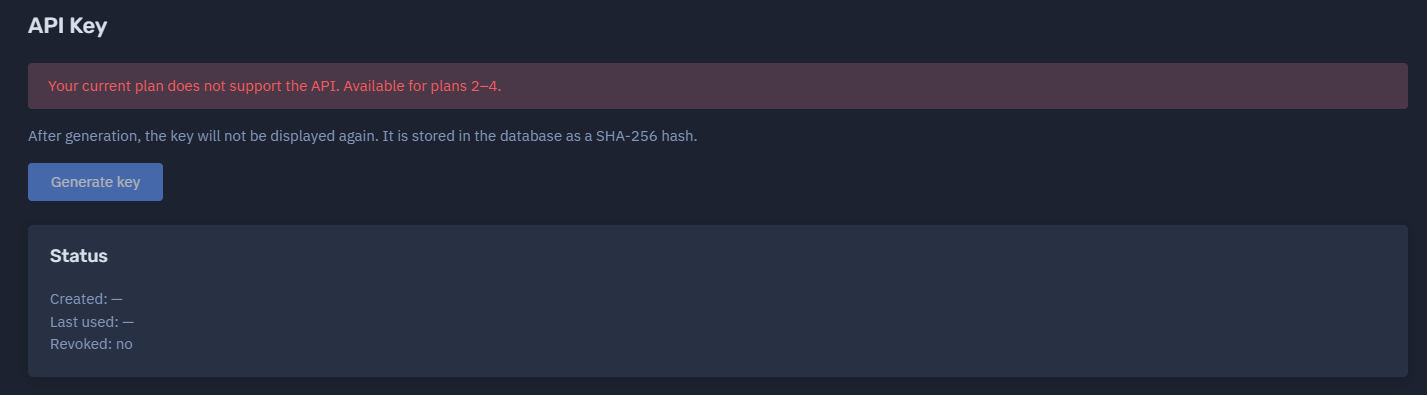
To generate an API key, you must have an active paid plan.
Free-tier users cannot create or use API keys.
2. Creating an API Key
Visit the official key generation page:
👉 https://dash.niamonx.io/api-key
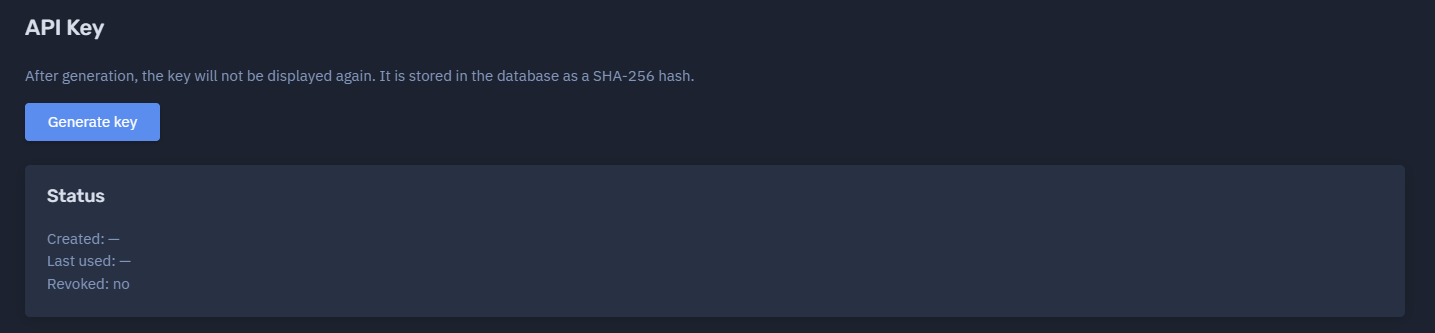
Once your subscription is active, click “Create API Key.”
⚠️ Important:
After generation, the key will not be displayed again.
It is securely stored in the database as a SHA-256 hash, meaning even NiamonX staff cannot recover it.
Keep your key safe — store it in an encrypted password manager or an environment variable.
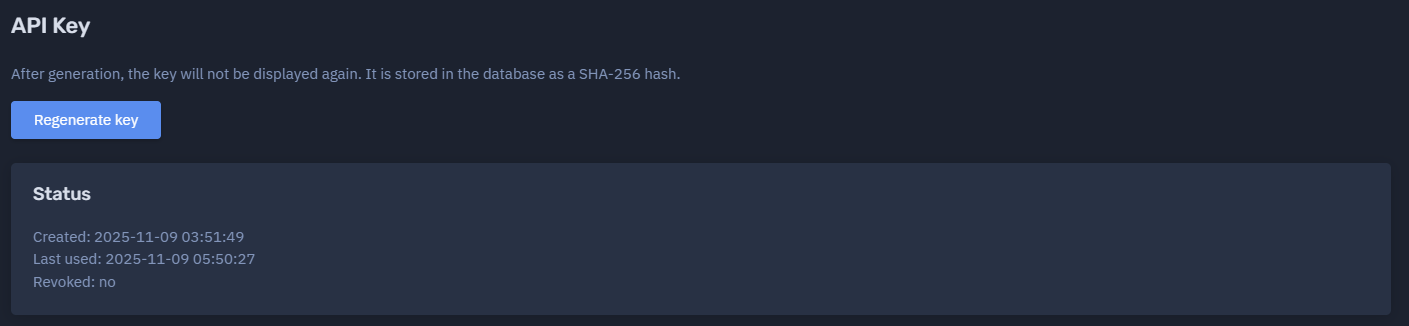
3. API Key Dashboard Information
After creating the key, you will see the following details:
These fields update automatically as you start using your key.
4. Main Endpoint
All API requests go through the main entry point:
5. Example Request
Basic Health Check (gl_ping)
Headers:
Body:
6. Possible Responses
| HTTP Code | Description |
|---|---|
| 200 | ✅ success: true, data: {...} — request completed successfully |
| 400 | ❌ Invalid input data (validation error) |
| 401 | 🚫 Invalid or missing API key |
| 403 | ⛔ The requested tool is disabled |
| 404 | ❓ Unknown tool or endpoint |
| 405 | ⚙️ Method not allowed (use POST) |
| 429 | ⏳ Cooldown or daily request limit exceeded (message from ToolService) |
7. Security Recommendations
✅ You’re ready to start!
With your key securely stored and your first test request working, you can now explore the full NiamonX API toolkit.